How to use Django as an authentication provider for a Next.js application - Part 1 Published:
Django is one of those frameworks that has been around the block and stood the test of time. It is often viewed by some today as outdated but in my opinion that couldn’t be further from the truth. I’m not going to extol the virtues of using Django today versus some other back end system because, suffice it to say, if you’re here reading this you’re probably already using Django or at least considering it.
Next.js is my preferred framework for building React applications today. In Part 2 of this series, I’ll be using Next 13.4 and the new App Router to build a client application that will use Django as its identity provider.
tl;dr - just give me the code
If you just want to check out the code for this instead of following along, here’s the GitHub repository.
Prerequisites
Here are some things you’ll need to be able to follow along with this article.
- Python >= 3.8 (Django 4.2 requires a version between 3.8 and 3.11. I’m using 3.11.)
- Experience with Python development using virtual environments
Additionally this article assumes a POSIX system. Following this tutorial on a Windows system is likely possible with some adjustments but not supported.
Starting the Django project
The first step I take in any Python project is creating a virtual environment. There are a few different packaging and dependency management tools for Python out there but for this article I’m going to stick with venv from the standard lib. The following commands will create a virtual environment and activate it.
mkdir auth_provider && cd auth_provider
python -m venv ./.venv
source .venv/bin/activate
The next step is to install Django and use the django-admin CLI tool to scaffold a Django project.
pip install Django
django-admin startproject auth_provider .
This article will use the default SQLite configuration that comes with Django. Refer to the docs for instructions on configuring a different database.
At this point, the database migrations can be run and the base development server can be started using the following commands:
python manage.py migrate
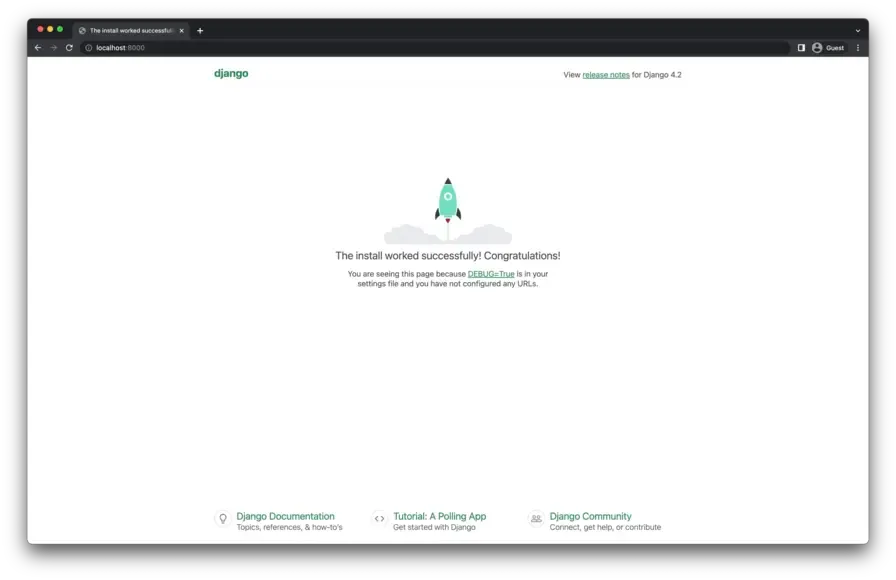
python manage.py runserverOpening localhost:8000 in a browser should show the successful start-up screen as follows:
Django Environ
Django Environ is a library that facilitates configuring a Django application with environment variables. Install and configure Django Environ in order to use a .env file for loading environment variables in local development.
pip install django-environCreate a .env file in the root of the Django application folder with the following values.
DEBUG=onNext, the following command will use Django’s built-in management command to generate a SECRET_KEY and add it to the .env file.
echo SECRET_KEY=\""`python -c 'from django.core.management.utils import get_random_secret_key; print(get_random_secret_key())'`"\" >> .envUse Django Environ in settings.py as follows.
from pathlib import Path
import environ

# Build paths inside the project like this: BASE_DIR / 'subdir'.
BASE_DIR = Path(__file__).resolve().parent.parent

env = environ.Env(
    # set casting, default value
    DEBUG=(bool, False),
)

# Read environment variables from .env file
environ.Env.read_env(BASE_DIR / ".env")

SECRET_KEY = env("SECRET_KEY")

DEBUG = env("DEBUG")
Generate a Superuser for the Django Admin
Create a new superuser using Django’s createsuperuser management command.
python manage.py createsuperuserFollow the prompts and upon successful creation, use the new superuser credentials to log into the admin at http://localhost:8000/admin/.
Django OAuth Toolkit
Django comes with a robust authentication library built in that will be used as the identity provider for this article. My preferred library for federating identities from Django’s auth system is Django OAuth Toolkit. The following steps are taken from Django OAuth Toolkit’s documentation.
Install Django OAuth Toolkit to the virtual environment.
pip install django-oauth-toolkitAdd oauth2_provider to your INSTALLED_APPS in settings.py.
INSTALLED_APPS = (
    # ... other installed apps
    "oauth2_provider",
)
Add the following to urls.py to enable OAuth routes.
from django.urls import include, path

urlpatterns = [
    # ... other urls
    path("o/", include("oauth2_provider.urls", namespace="oauth2_provider")),
]
Apply OAuth Toolkit’s database migrations.
python manage.py migrate oauth2_providerOpenID Connect Configuration
Django OAuth Toolkit requires some additional configuration for OpenID Connect support. The following steps are taken from the OpenID Connect section of the documentation. I do suggest reading this doc page in its entirety because there are important security concerns to be aware of that I will not go into detail about in this article.
Please note, there are far better practices than the following for handling RSA private keys in production.
Create an RSA private key file. Be sure to add oidc.key to the project .gitignore file or just keep it out of the project folder entirely.
openssl genrsa -out oidc.key 4096Next, use this command to convert the oidc.key file into a multiline string value that can be used in the .env file.
awk 'NF {sub(/\r/, ""); printf "%s\\n",$0;}' oidc.keyAdd the output of the above command to the .env file as follows. I had to trim a couple characters off the end of the command output so make sure the environment variable value ends like this one.
OIDC_RSA_PRIVATE_KEY="-----BEGIN RSA PRIVATE KEY-----\nMIIJ...redacted...yg7SvjsyooAQ==\n-----END RSA PRIVATE KEY-----"Add the RSA private key to settings.py and allow the openid scope to be used.
# settings.py

# Django OAuth Toolkit Settings
OAUTH2_PROVIDER = {
    "OIDC_ENABLED": True,
    "OIDC_RSA_PRIVATE_KEY": env.str("OIDC_RSA_PRIVATE_KEY", multiline=True),
    "SCOPES": {
        "openid": "OpenID Connect scope",
        "profile": "User profile information",
        "email": "User email address",
    },
}
At this point, the Django application should be successfully serving the OpenID Connect configuration and JWKS information. Bring up the development server to verify.
python manage.py runserverThe OpenID Configuration information should be available at http://localhost:8000/o/.well-known/openid-configuration/ and looks something like this.
{
  "issuer": "http://localhost:8000/o",
  "authorization_endpoint": "http://localhost:8000/o/authorize/",
  "token_endpoint": "http://localhost:8000/o/token/",
  "userinfo_endpoint": "http://localhost:8000/o/userinfo/",
  "jwks_uri": "http://localhost:8000/o/.well-known/jwks.json",
  "scopes_supported": ["openid", "profile", "email"],
  "response_types_supported": [
    "code",
    "token",
    "id_token",
    "id_token token",
    "code token",
    "code id_token",
    "code id_token token"
  ],
  "subject_types_supported": ["public"],
  "id_token_signing_alg_values_supported": ["RS256", "HS256"],
  "token_endpoint_auth_methods_supported": [
    "client_secret_post",
    "client_secret_basic"
  ],
  "claims_supported": ["sub"]
}
The JWKS can be found at http://localhost:8000/o/.well-known/jwks.json and looks like this.
{
  "keys": [
    {
      "alg": "RS256",
      "use": "sig",
      "kid": "FXcR2kEyU2-dAqdD0CuU-Uec9V9kqPggBNJh2rqQW4A",
      "e": "AQAB",
      "kty": "RSA",
      "n": "zyHTrqXguplbQYhS1H3H-worM0-LcjQwHqIq9fhFzSHZqj5-UWPuOIC6RDtCvMS4cvb-aqVGd7WOps4riHh7gV3slQ_3EdV3dQQDeemL9Bspg7YOn0XuaTIMuwkK-A3z-MJAs_N29lQ09KSGm3pv-IUeLJ473RyWo6eTpqDBzD6UuX43vVQtVSDwOkDt3fmD5FSQ_UeODvpIktDPxnVz-gxBxhWnjSWQxlr6tqBnpMbSMGpLaWTht85AIrBdee7Gs_PLSMFbl29U0HC0dW_9QODtv5-2iXf5eJwZhSrwpb5E85ikVWToJsAB6kJQ3A6cA75d3jqtppEUR2TiEQlLwvJesJxXo9llUcLyhRr6dEk653GVo2F3StUpNFtCqJwxrujFmJOelJ00704IDUt7Hb0zLkQnlIEGSLquTRTQpr5guS8jEBc9DL5_xPWHJxoA_8IsRkhev2xYZ_mmaYqWtZ16omgBf8bmbOaPiBnHGj7ByCWpmgNb04hIrOYQNAjBQfIqWSUXf5GXausodzy8X2GsJJCZhYVSmizBQ_leYWysKNz_3-AntZ_ZFrhgPPvyDbMyrXpHykxJhsfvd9CqthWjqRO2ncksuUprZ0UTfkyTPzU_CRtG5KffoMSsOpqJ95KSye1FLHH4ujcHovNuSvPQCAo1hSGPiFSl1ENdBoU"
    }
  ]
}
Adding custom claims to the ID Token
By default, Django OAuth Toolkit will only provide the user ID in the ID token. This works but isn’t very user-friendly once the user is authenticated on the Next.js side. It is possible to add custom claims to the ID token in order to pass across the user’s name and email.
Create a file inside the auth_provider folder called oauth_validators.py as follows.
from oauth2_provider.oauth2_validators import OAuth2Validator

class CustomOAuth2Validator(OAuth2Validator):
    def get_additional_claims(self, request):
        return {
            "name": " ".join([request.user.first_name, request.user.last_name]).strip(),
            "email": request.user.email,
        }
Update the OAUTH2_PROVIDER settings dictionary in settings.py to use this new validator class.
OAUTH2_PROVIDER = {
  "OAUTH2_VALIDATOR_CLASS": "my_project.oauth_validators.CustomOAuth2Validator",
  # ... other settings
}
Implementing Django’s LoginView
Users need a way to log in to the Django application. Django doesn’t provide this by default, but it does provide a handy LoginView for implementing it.
The templates for rendering the login form need to be implemented manually as well. First, Django needs to know where to find the template files. Locate the TEMPLATES setting in settings.py and update as follows.
TEMPLATES = [
    {
        'BACKEND': 'django.template.backends.django.DjangoTemplates',
        'DIRS': [BASE_DIR / "auth_provider" / "templates"], # Add this entry to the DIRS list
        'APP_DIRS': True,
        'OPTIONS': {
            'context_processors': [
                'django.template.context_processors.debug',
                'django.template.context_processors.request',
                'django.contrib.auth.context_processors.auth',
                'django.contrib.messages.context_processors.messages',
            ],
        },
    },
]
The following command will scaffold out the required folders and template files.
mkdir -p templates/registration && touch ./templates/base.html ./templates/registration/login.htmlThe resulting file structure should look like this.
auth_provider/
└ templates/
    ├ base.html
    └ registration/
        └ login.html
The base.html file defines the barebones HTML document for the Login template.
<!DOCTYPE html>
<html lang="en">
  <head>
    <meta charset="utf-8" />
    <title>Django Auth Provider Tutorial</title>
    <meta name="viewport" content="width=device-width, initial-scale=1" />
  </head>
  <body>
    <h1>Django Auth Provider Tutorial</h1>
    <main>{% block content %}{% endblock content %}</main>
  </body>
</html>
The login.html file is where the form component is defined. I used the sample code from the Django documentation for the LoginView, slightly modified because I won’t be going over the password reset functionality that it assumes.
{% extends "base.html" %} {% block content %} {% if form.errors %}
<p>Your username and password didn't match. Please try again.</p>
{% endif %} {% if next %} {% if user.is_authenticated %}
<p>
  Your account doesn't have access to this page. To proceed, please login with
  an account that has access.
</p>
{% else %}
<p>Please login to see this page.</p>
{% endif %} {% endif %}

<form method="post" action="{% url 'login' %}">
  {% csrf_token %}
  <table>
    <tr>
      <td>{{ form.username.label_tag }}</td>
      <td>{{ form.username }}</td>
    </tr>
    <tr>
      <td>{{ form.password.label_tag }}</td>
      <td>{{ form.password }}</td>
    </tr>
  </table>

  <input type="submit" value="login" />
  <input type="hidden" name="next" value="{{ next }}" />
</form>

{% endblock %}
Add the following to the urls.py file in order to implement the LoginView with these new templates.
# ... other imports
from django.contrib.auth.views import LoginView
urlpatterns = [
# ... other urls
path('accounts/login/', LoginView.as_view(), name="login"),
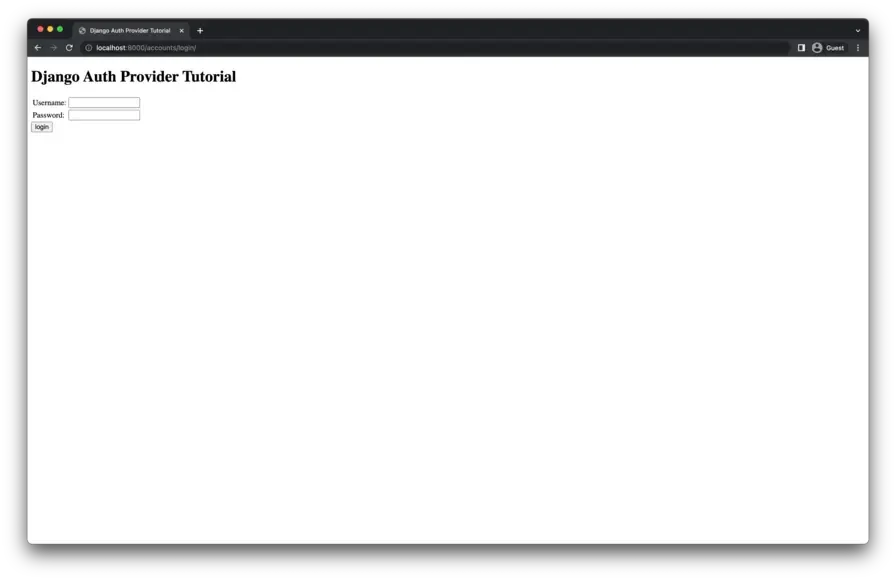
]The login form should be up and running at http://localhost:8000/accounts/login/ and look something like this.
Try logging in with the super user that was created in an earlier step. You’ll be forwarded to an error page because Django’s default LOGIN_REDIRECT_URL is /accounts/profile/ but that view has not been implemented, and it won’t be for the purposes of this tutorial. The OIDC provider will forward the user back to the Next.js app in the next part of this article series.
Summary
So far we have built an OpenID Connect Identity Provider using the Django framework, its built-in authentication system, and a third party library to handle the OpenID Connect endpoints. In the Part 2 of this series, I’ll explore using this identity provider in a Next.js 13 application with Next Auth.
Potential Improvements
Discussion
I’m using GitHub Discussions on the tutorial repository as a place to talk about this article series. Hit me up there if you have any questions or comments. I’ll try to respond as soon as I can.